Minimal Rocky Linux 9 Virtual Box image for Java development
On June 30, 2024 CentOS 7 will reach end of life. Time to use Rocky Linux 9 as base distribution for my Virtual Box images. In this post I describe a step-by-step process to create and configure the initial Virtual Box image.
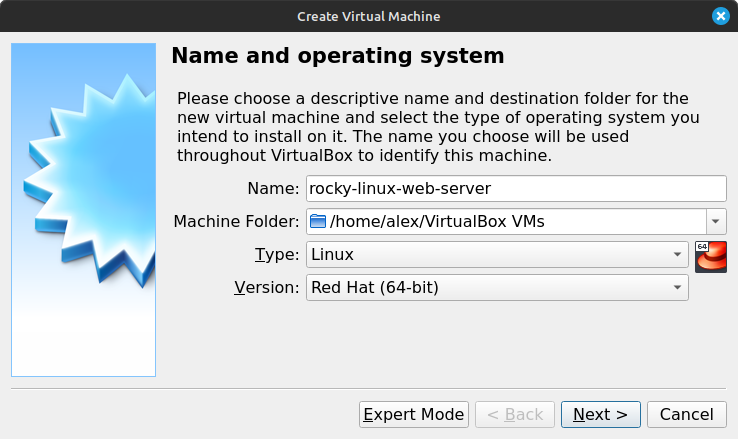
Guest Operating System
After clicking on the "New" button within Virtual Box, we have to select the name and operating system for the virtual machine. We use "Linux" as Type and "Red Hat (64-bit) as Version.
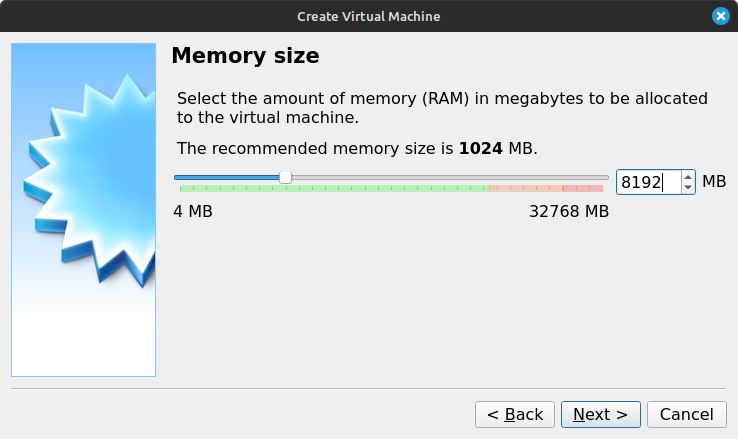
Memory Size
Then we have to select the required memory size. This totally depends on the project requirements. In this case I will build an image that will support an environment for these components:
- NGINX as Reverse Proxy
- MongDB
- Java 17
- SpringBoot Web Application
In this case I picked 8GB to cater these requirements.
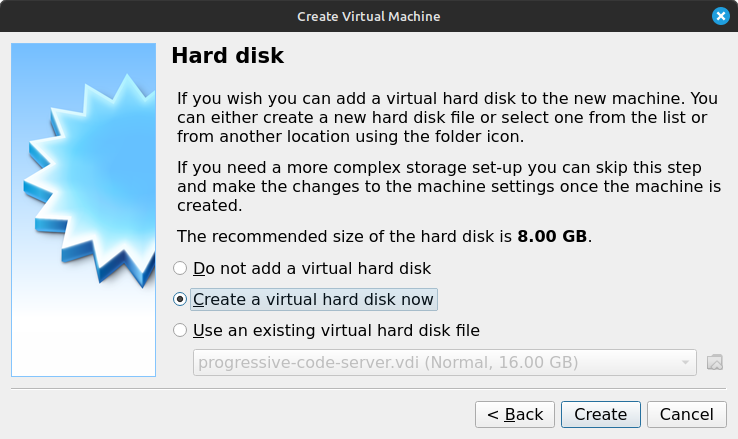
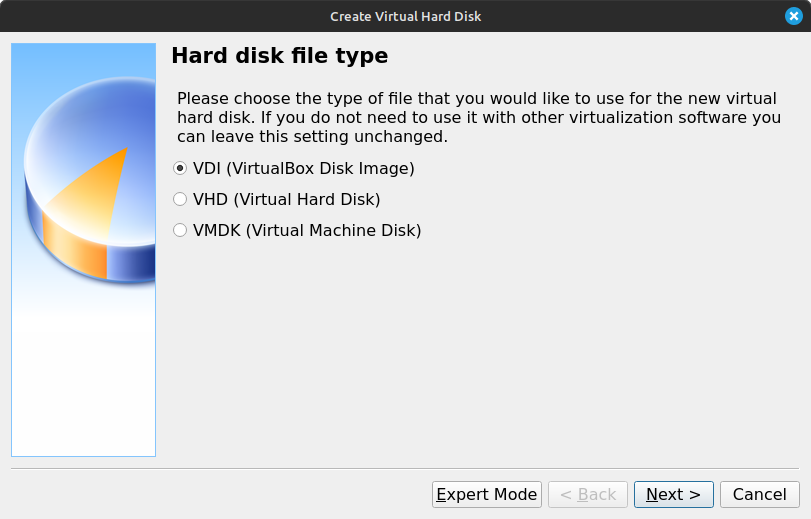
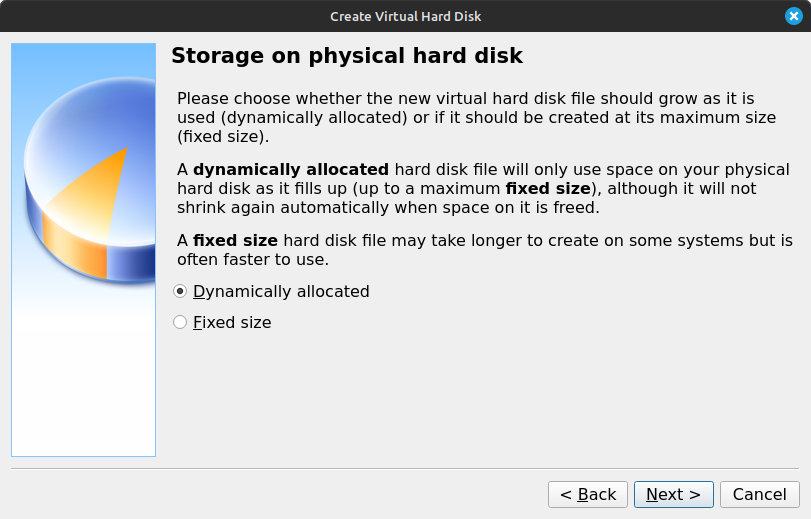
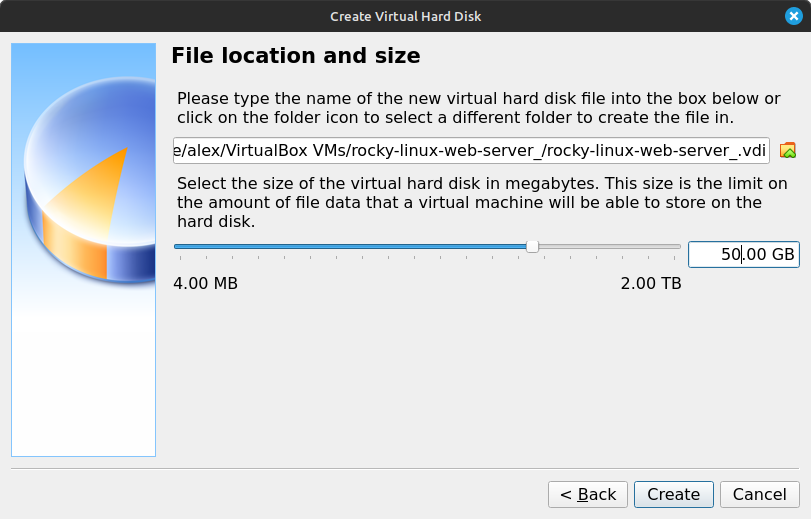
Hard Disk Settings
Now we have to configure the hard disk settings. This is pretty much self-explanatory and I usually keep the default settings. The disk size in this scenario is 50 GB. This gives us enough space for the project and using "Dynamically allocated" option keeps the physical space small until we really need the entire space.
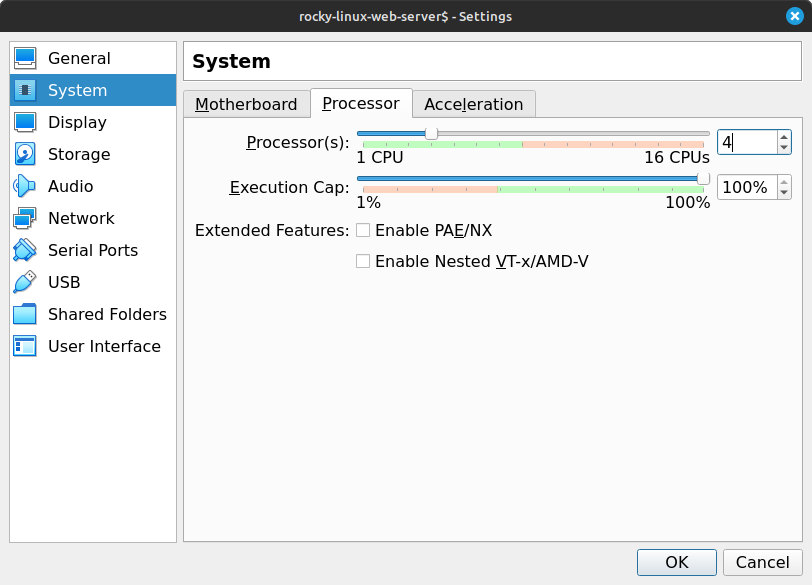
Processor
Now, we can set the number of CPUs required. This option is available under Settings -> System -> Processor.
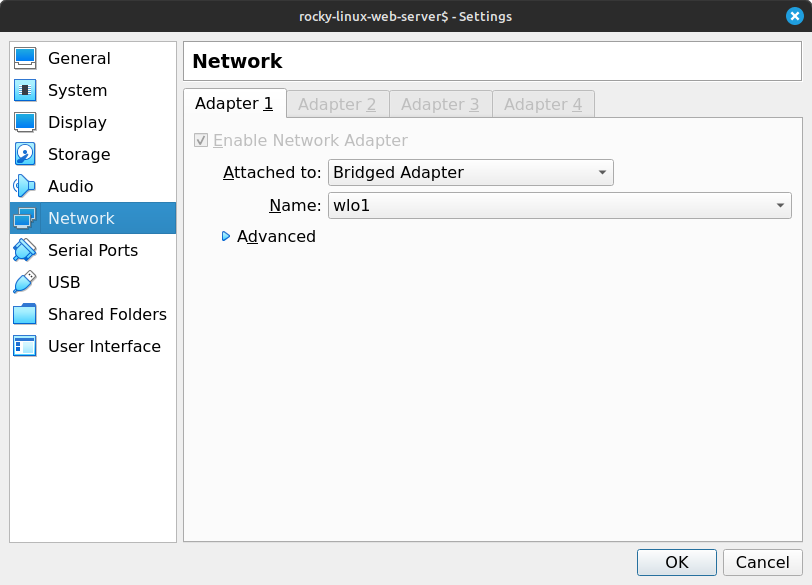
Network
To allow access to the new virtual machine from the entire local network, I usually pick "Bridged Adapter". This will assign a dedicated local IP, provided by the router, to the virtual machine.
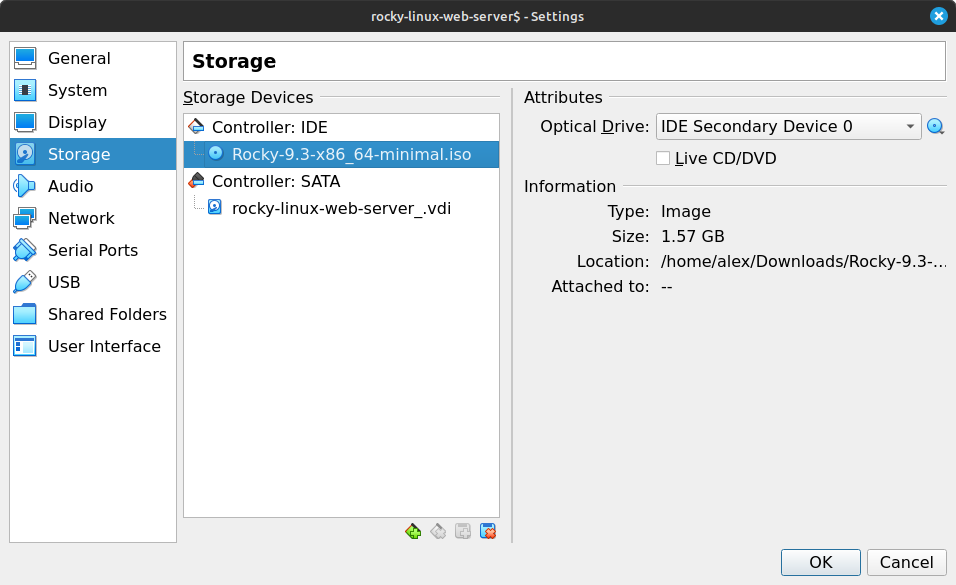
Mount Rocky Minimal CD image
To install Rocky Linux, we have to download the latest minimal image from here.
Then we have to mount the image in Settings -> Storage -> Attributes -> Optical Drive
After selecting the image, it shows up under Storage Devices -> Controller: IDE
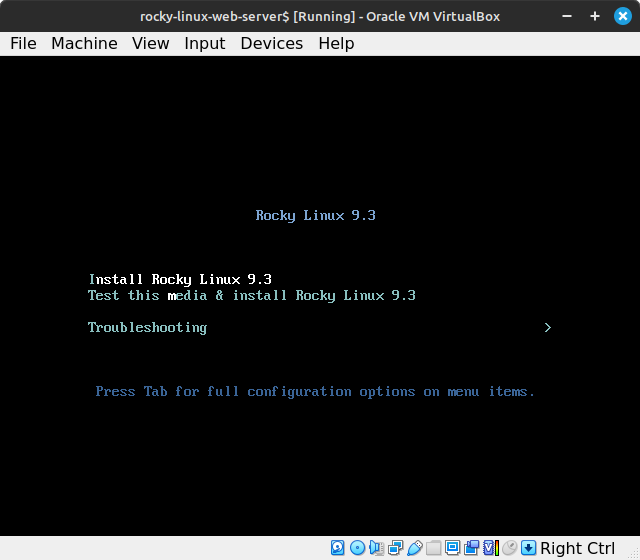
Install Rocky Linux
Finally, time to start the virtual machine. Select "Install Rocky Linux 9.3" from the boot menu.
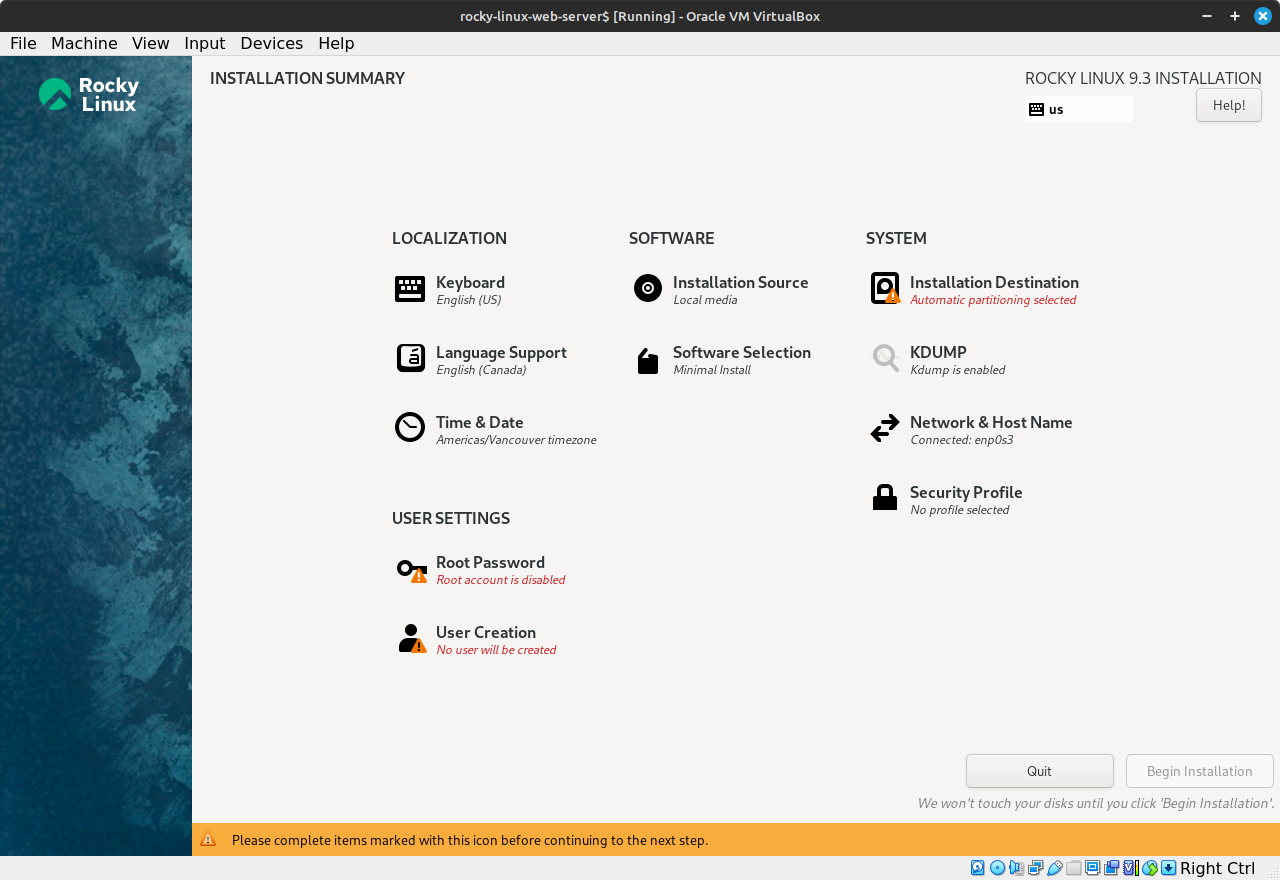
Installation Summary
After selecting the language, the Installation Summary page shows up. This page marks items to be completed.
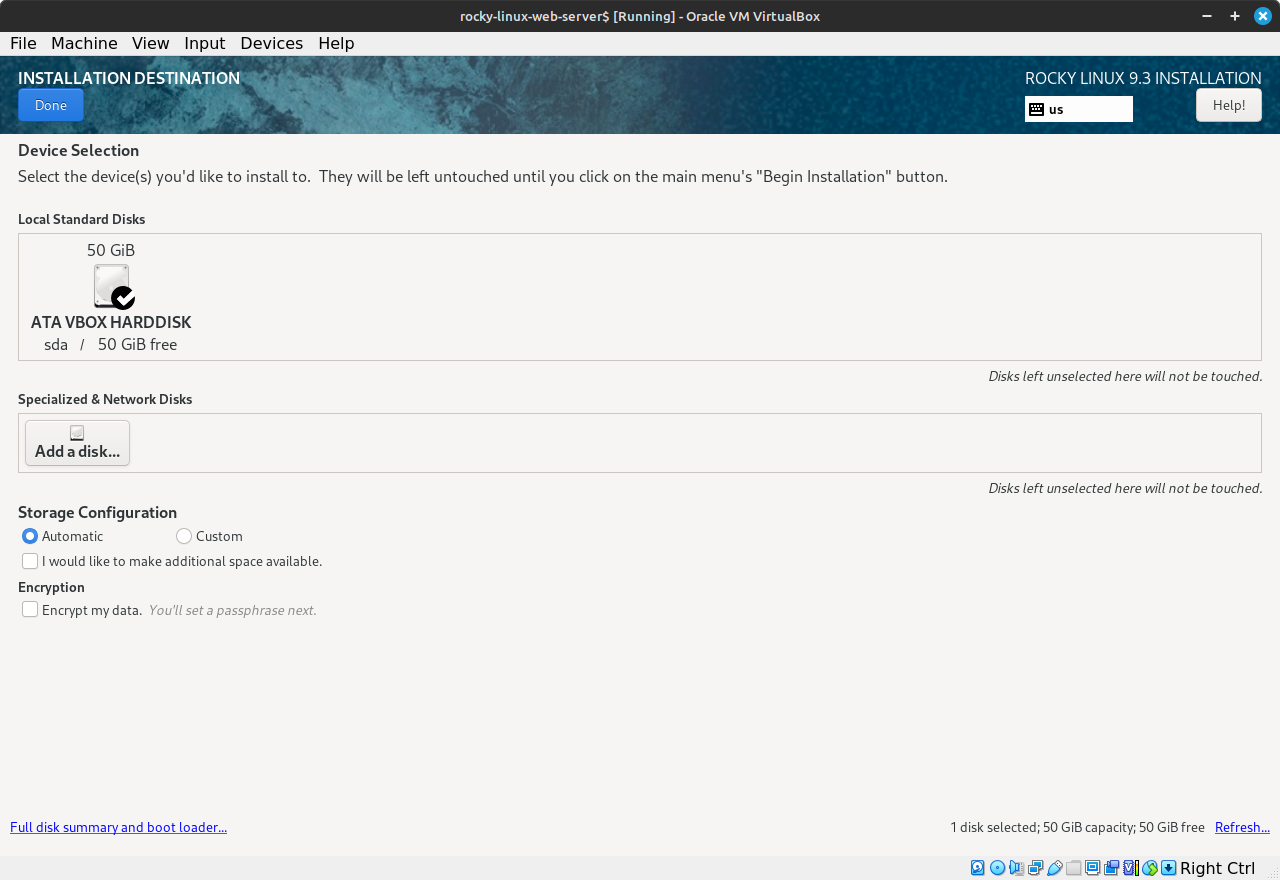
Disk Partitioning
The "Installation Destination" section helps us to partition the disk. We could build up different volumes for "/home", "/boot" and "/", but as this is only used for development purposes, we can just accept the default partitioning.
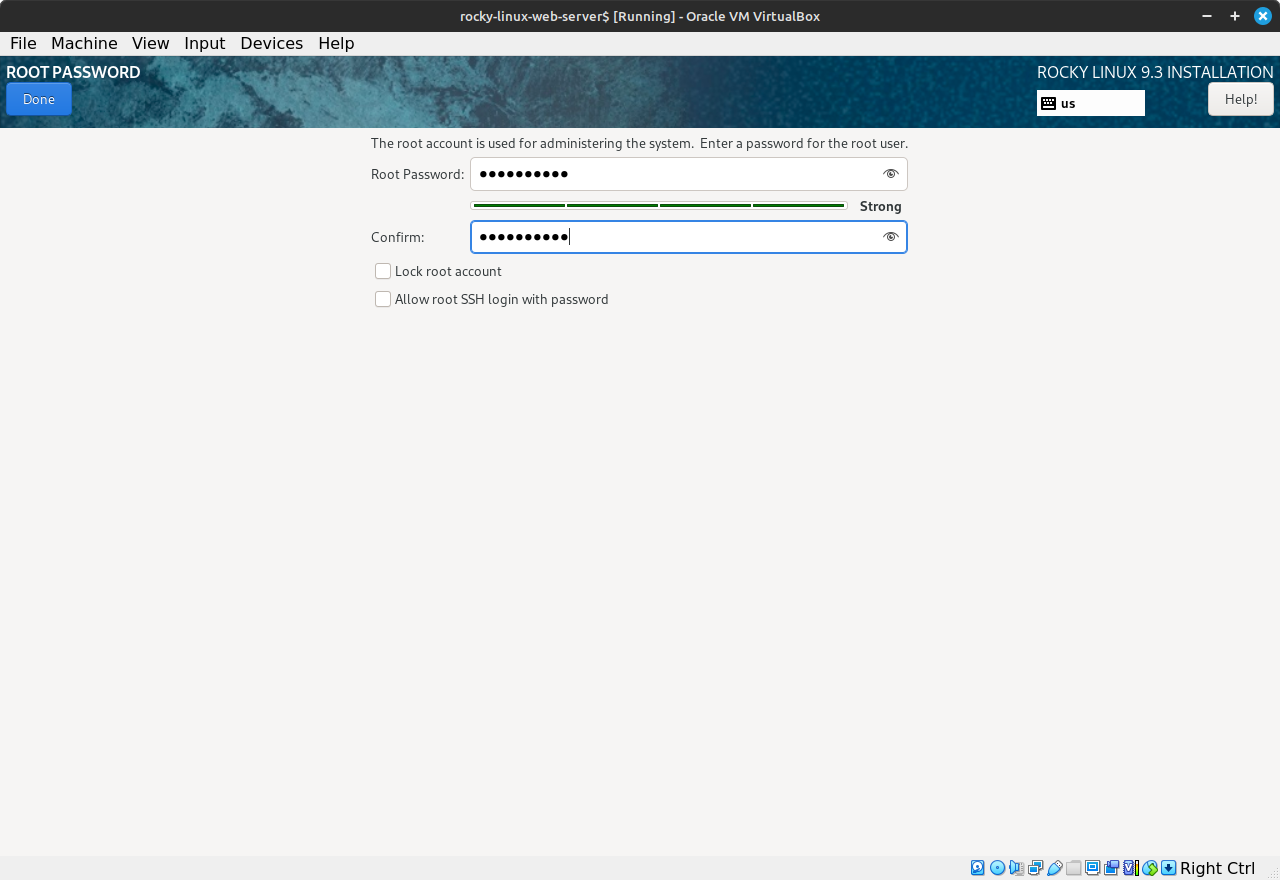
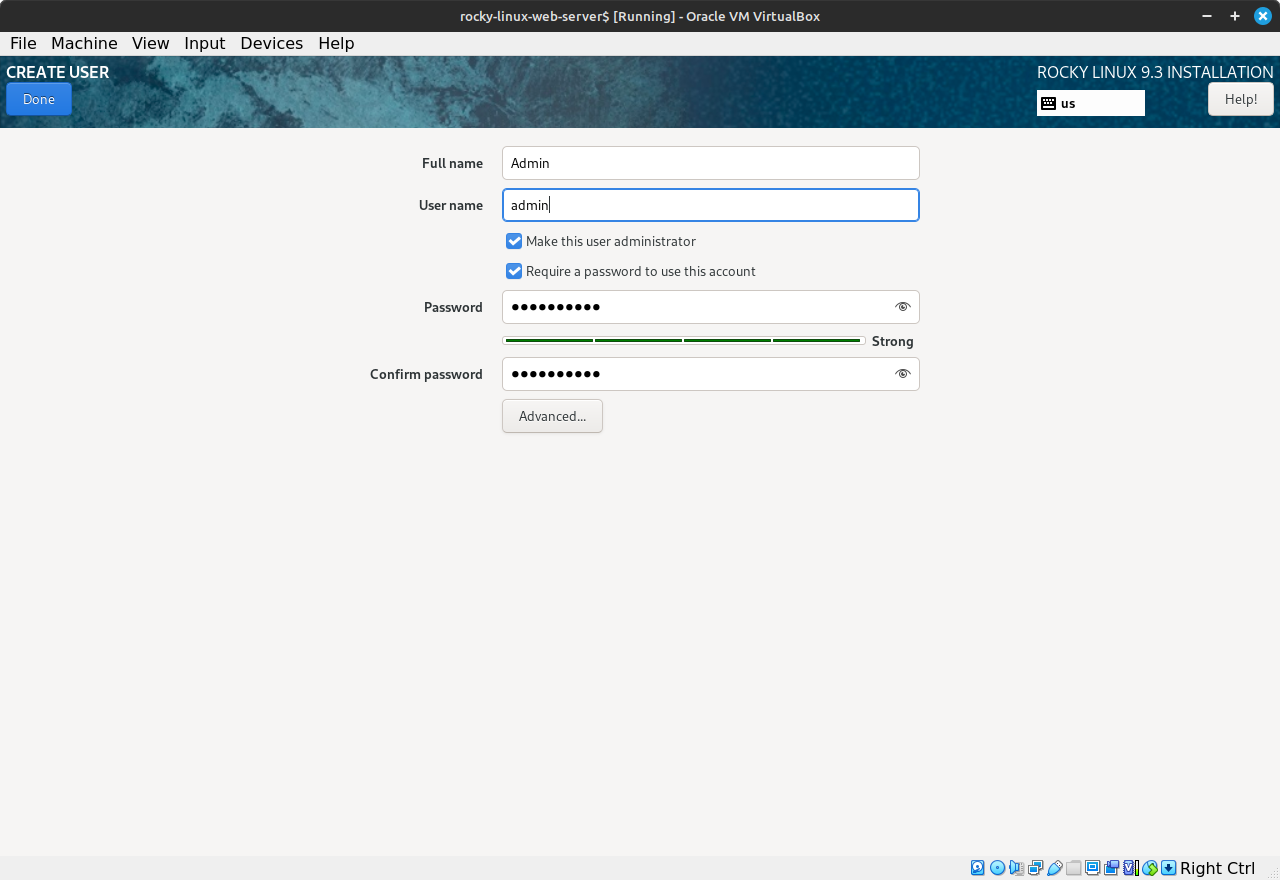
Users
Let's configure the root user access and create a new user we use for day-to-day administrative tasks.
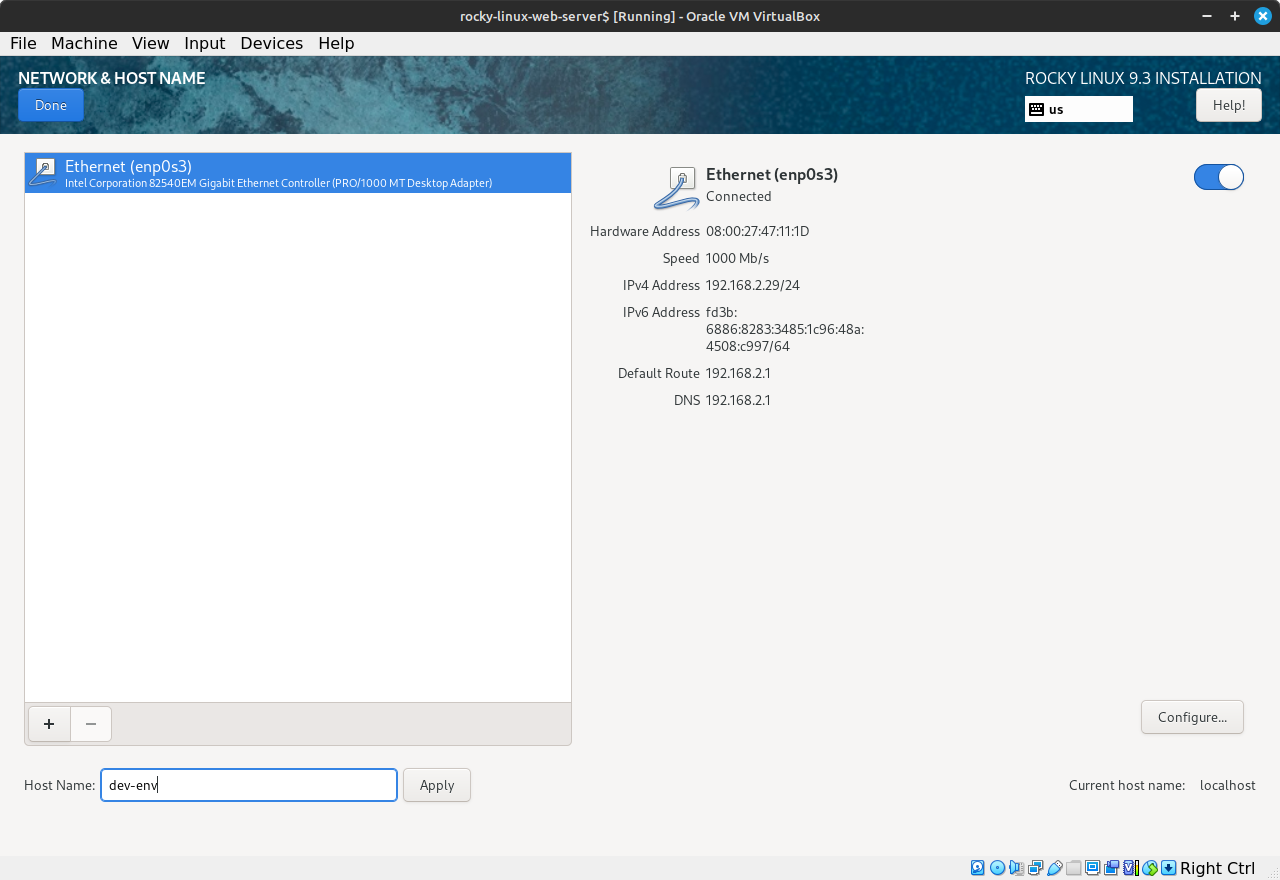
Network
And the last step is to configure network & hostname. I only set the hostname - here "dev-env" - and leave all other options as they are.
Retrieve IP address of the Virtual Machine
After the installation completes, the virtual machine reboots and we can login as the admin user.
The first task is to retrieve the IP address of the new server. This can be done from the Virtual Box window.
Below we can see that the IP address of this server is: 192.168.2.29. We can use this IP address to ssh from the host system into the guest virtual machine.
admin@dev-env ~]$ ip a

1: lo:  mtu 65536 qdisc noqueue state UNKNOWN group default qlen 1000
    link/loopback 00:00:00:00:00:00 brd 00:00:00:00:00:00
    inet 127.0.0.1/8 scope host lo
       valid_lft forever preferred_lft forever
    inet6 ::1/128 scope host
       valid_lft forever preferred_lft forever
2: enp0s3:  mtu 1500 qdisc fq_codel state UP group default qlen 1000
    link/ether 08:00:27:47:11:1d brd ff:ff:ff:ff:ff:ff
    inet 192.168.2.29/24 brd 192.168.2.255 scope global dynamic noprefixroute enp0s3
       valid_lft 86037sec preferred_lft 86037sec
    inet6 fd3b:6886:8283:3485:a00:27ff:fe47:111d/64 scope global dynamic noprefixroute
       valid_lft 1678sec preferred_lft 1678sec
    inet6 fe80::a00:27ff:fe47:111d/64 scope link noprefixroute
       valid_lft forever preferred_lft forever
Update the System
Let's quickly update the OS:
[admin@dev-env ~]$ sudo yum update[admin@dev-env ~]$ sudo rebootInstall JDK 17
We can install JDK 17 using yum:
[admin@dev-env ~]$ sudo yum install java-17-openjdkLet's check if Java has been installed correctly:
[admin@dev-env ~]$ java -version
openjdk version "17.0.10" 2024-01-16 LTS
OpenJDK Runtime Environment (Red_Hat-17.0.10.0.7-1) (build 17.0.10+7-LTS)
OpenJDK 64-Bit Server VM (Red_Hat-17.0.10.0.7-1) (build 17.0.10+7-LTS, mixed mode, sharing)Tags
AOP Apache Kafka Bootstrap Go Java Linux MongoDB Nginx Security Spring Spring Boot Spring Security SSL ThymeleafSearch
Archive
- 1 December 2023
- 1 November 2023
- 1 May 2019
- 2 April 2019
- 1 May 2018
- 1 April 2018
- 1 March 2018
- 2 February 2018
- 1 January 2018
- 5 December 2017
- 7 November 2017
- 2 October 2017