Create a minimal CentOS 7 Virtual Box image for Java application deployment
When working on a server-side Java project, I usually prefer to use a virtual machine to run the application. This post shows an example how to set up a Virtual Box CentOS 7 image that can be used to deploy our applications. An image like this can also be used to install services the application requires, e.g. a MySQL database, a Kafka instance or a distributed Ignite cache. I decided to describe this task quite detailed as I will use a basic image like this for several posts in the future.
Virtual Box
The example is based on Virtual Box 5.2. In case you use Ubuntu 17.04 or 17.10 as your host system you can find an excellent installation guide here.
Create Virtual Box image
We create a new virtual machine by clicking on the new item.
Guest operating system
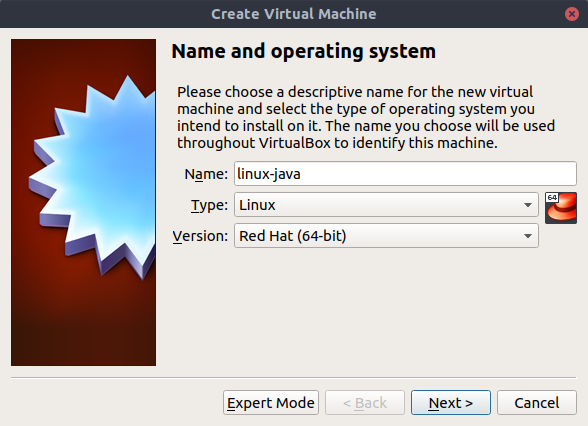
First, we have to provide a name for the virtual machine and the type of operating system (Linux) and the version (Red Hat 64 bit).
Memory size
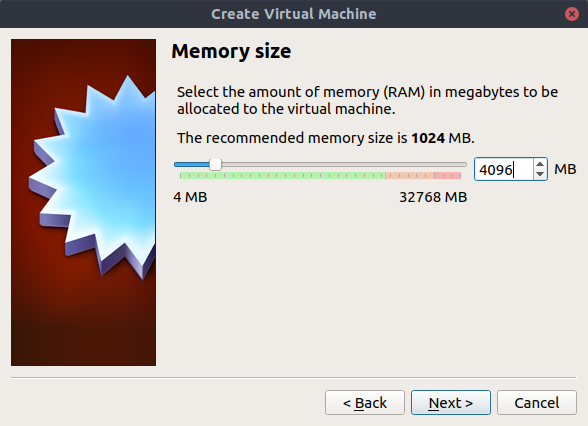
Our virtual machine needs some RAM, let's add 4GB.
Hard disk settings
Next, we have to configure the hard disk of the guest operating system.
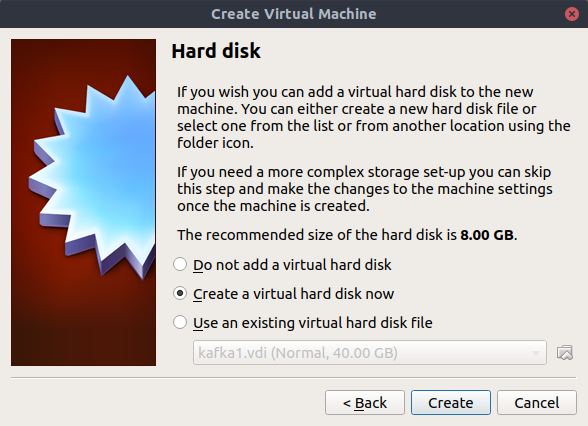
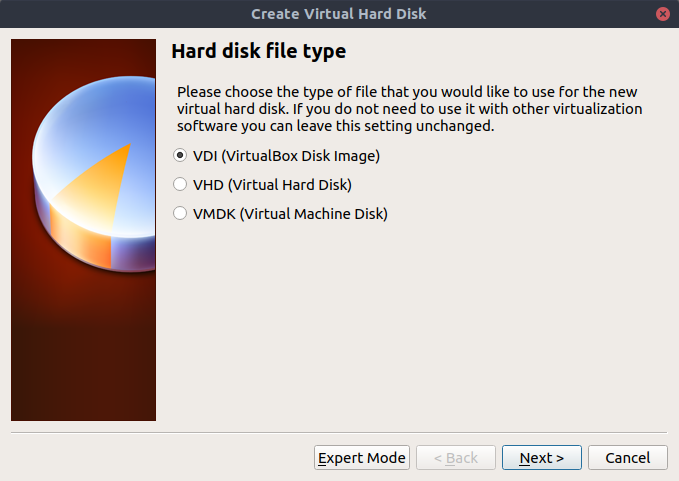
There are several choices, but I usually use the default VDI (Virtual Disk Image) format.
In the next step, we have to decide if we want to use a "dynamically allocated" or "fixed size" hard disk file. I usually choose "dynamically allocated" as this initially takes less disk space. It can be slightly slower at runtime, but you probably won't notice it unless you use the image for any kind of performance tests that require a lot of IO.
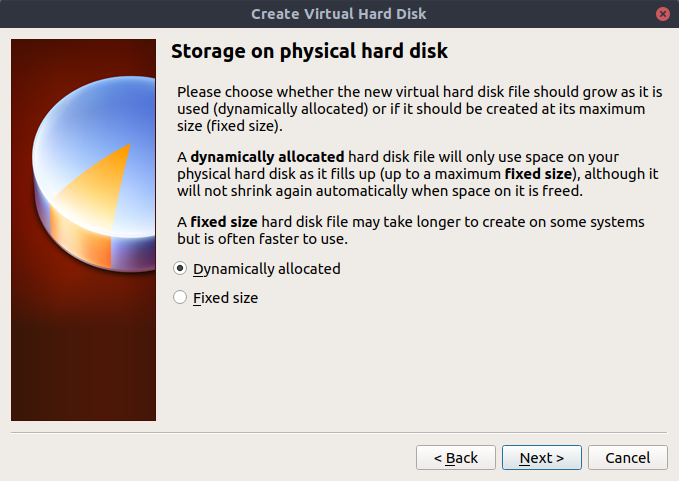
And finally, we have to set the file location and maximum size of the hard disk file. For most server-side applications 40 GB is more than enough.
Additional virtual machine settings
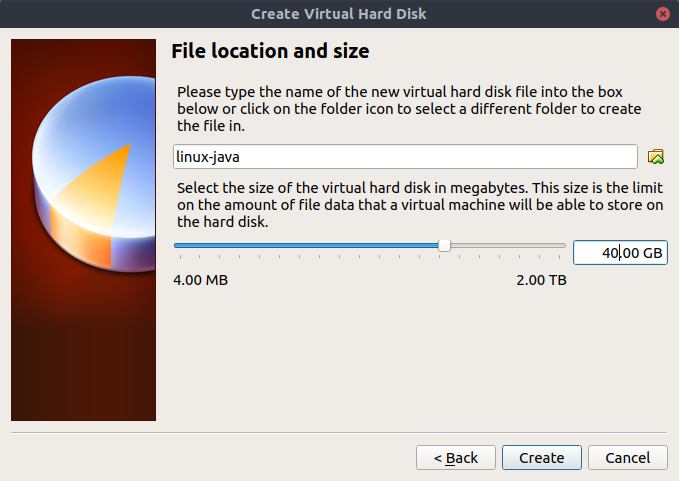
Per default Virtual Box only assigns 1 CPU core to the virtual machine. I usually set this value to at least 2 CPU cores.
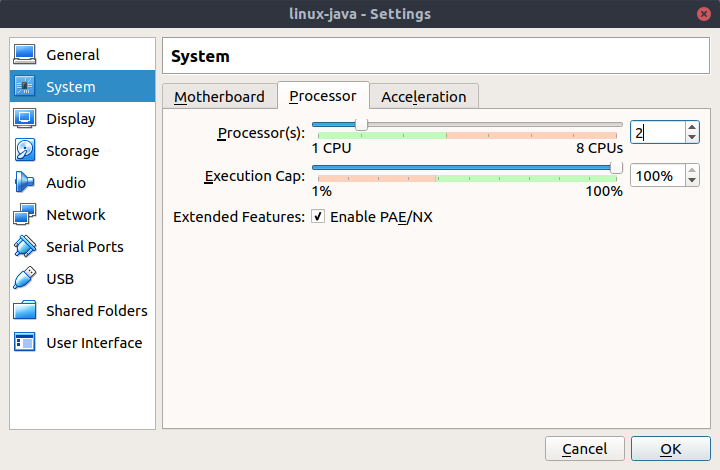
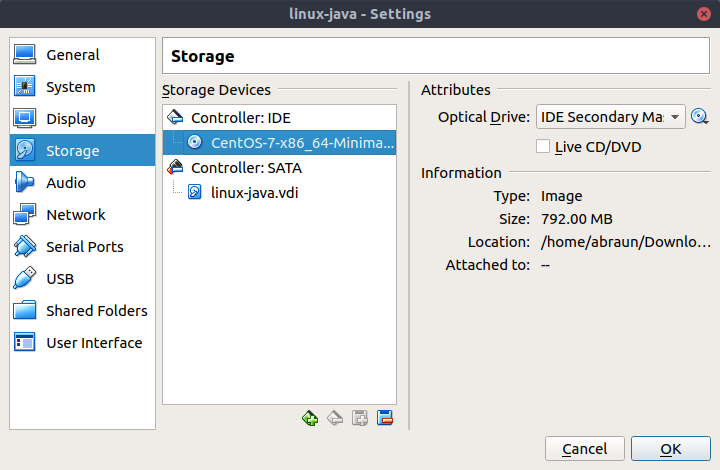
As we are going to install CentOS 7, we add the CentOS 7 minimal iso file as a virtual cd ROM.
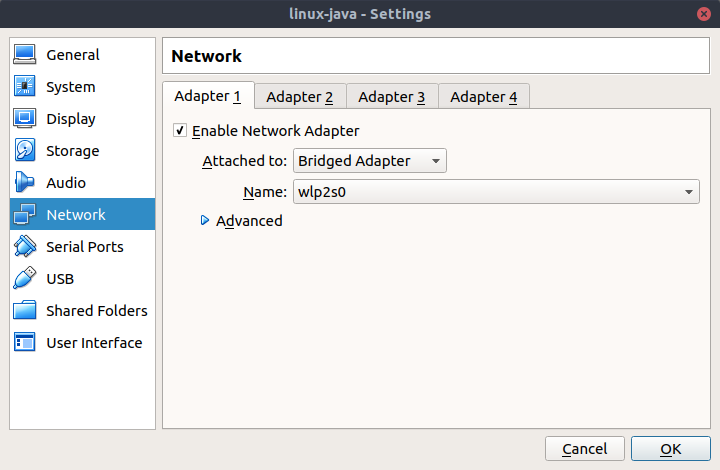
Additionally, we have to configure the network interface to use. I usually create a Bridged Adapter as in this case the virtual machine gets its own IP address and can be accessed from the guest, other virtual machines and even other computers in your network.
Install CentOS 7
Finally, our virtual machine has been configured. Let's install CentOS by starting up our virtual machine.
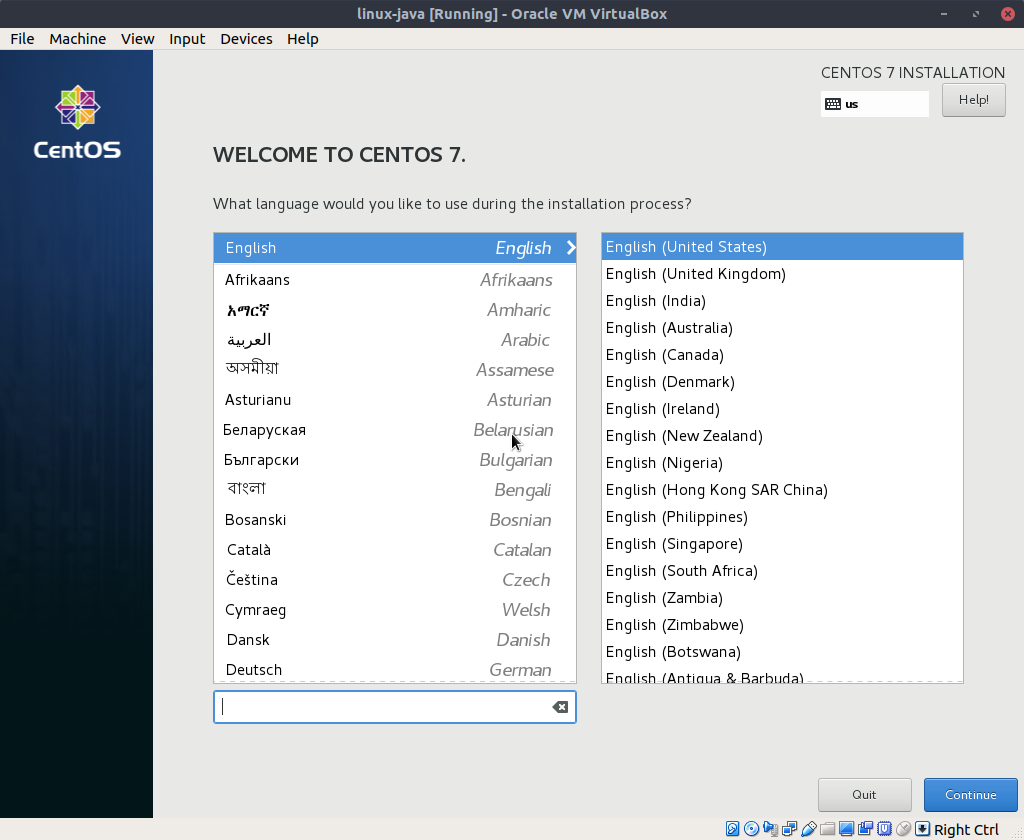
First, we have to select the language, in this example, I use English (United States).
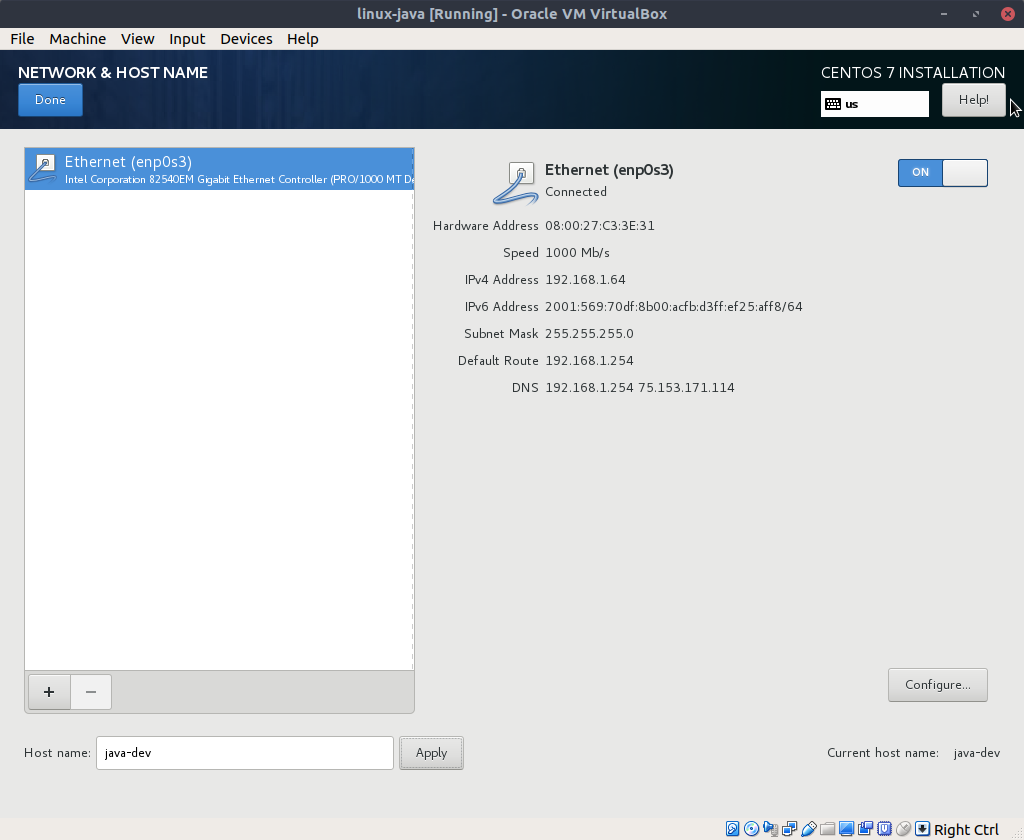
Now let's configure the network and the hostname. I usually set the hostname (here: java-dev) first, click "Apply" and then activate the network.
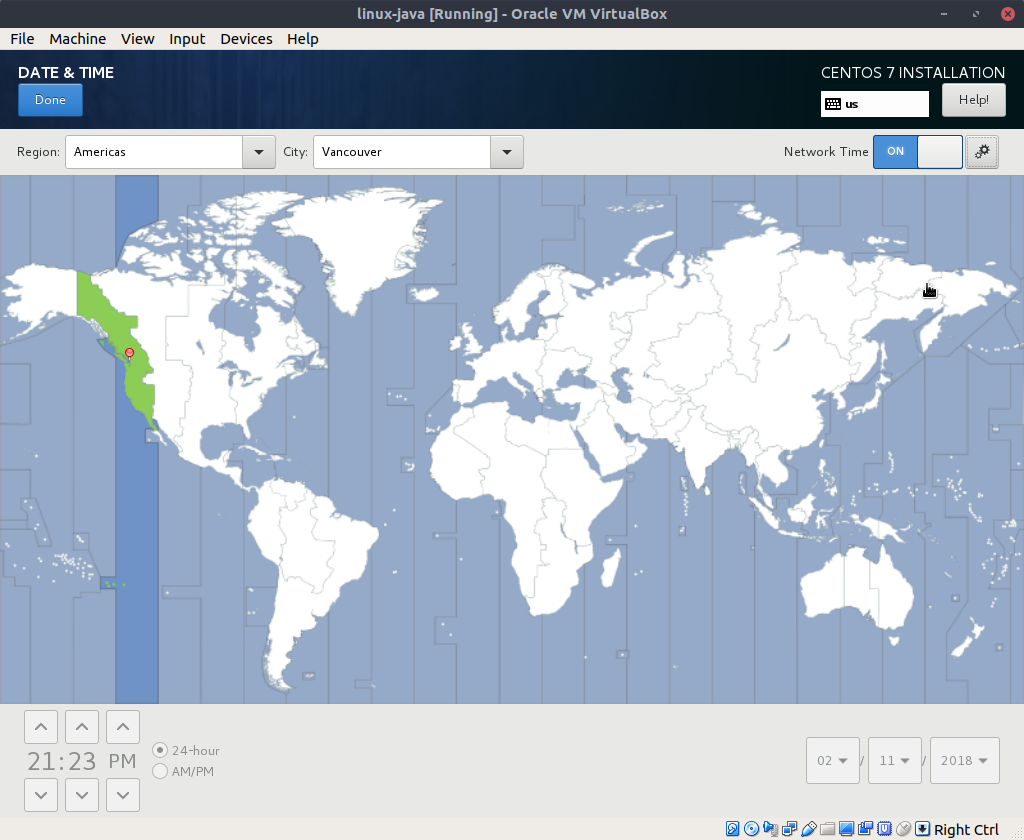
Now we have to set the correct time zone by selecting the region and city.
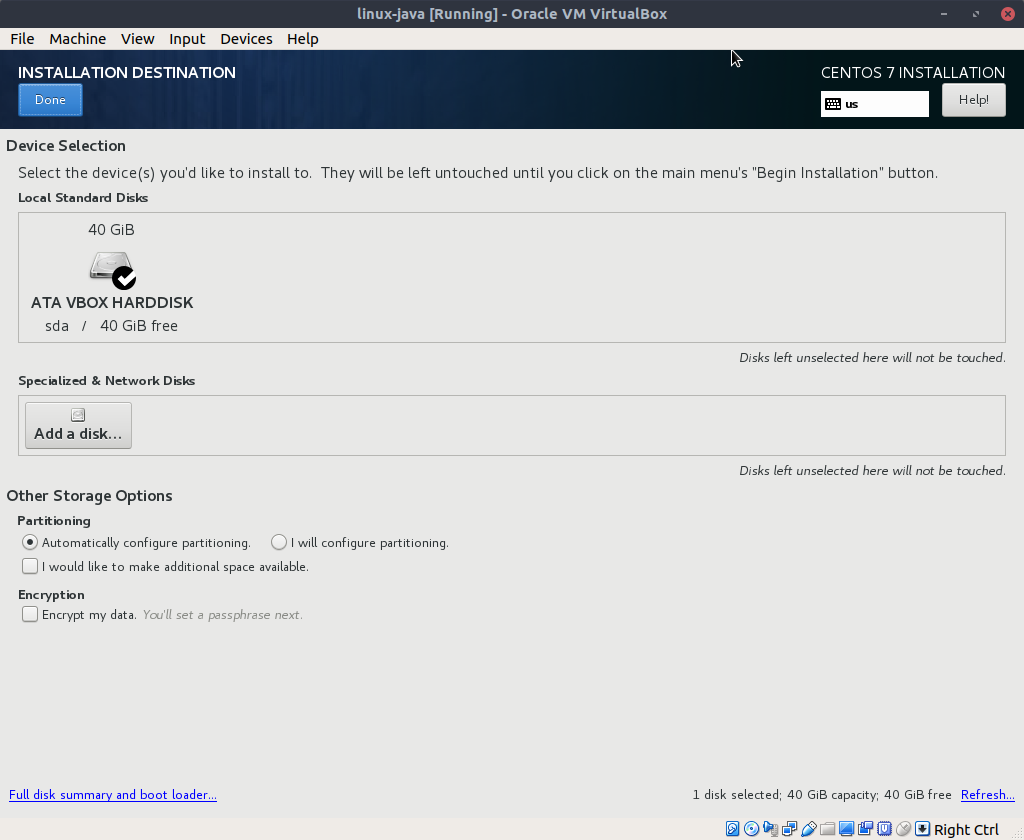
Before the installation can start we have to select the hard disk CentOS 7 should be installed on. As this is only a development virtual machine, we can simply accept the default hard drive and partitioning.
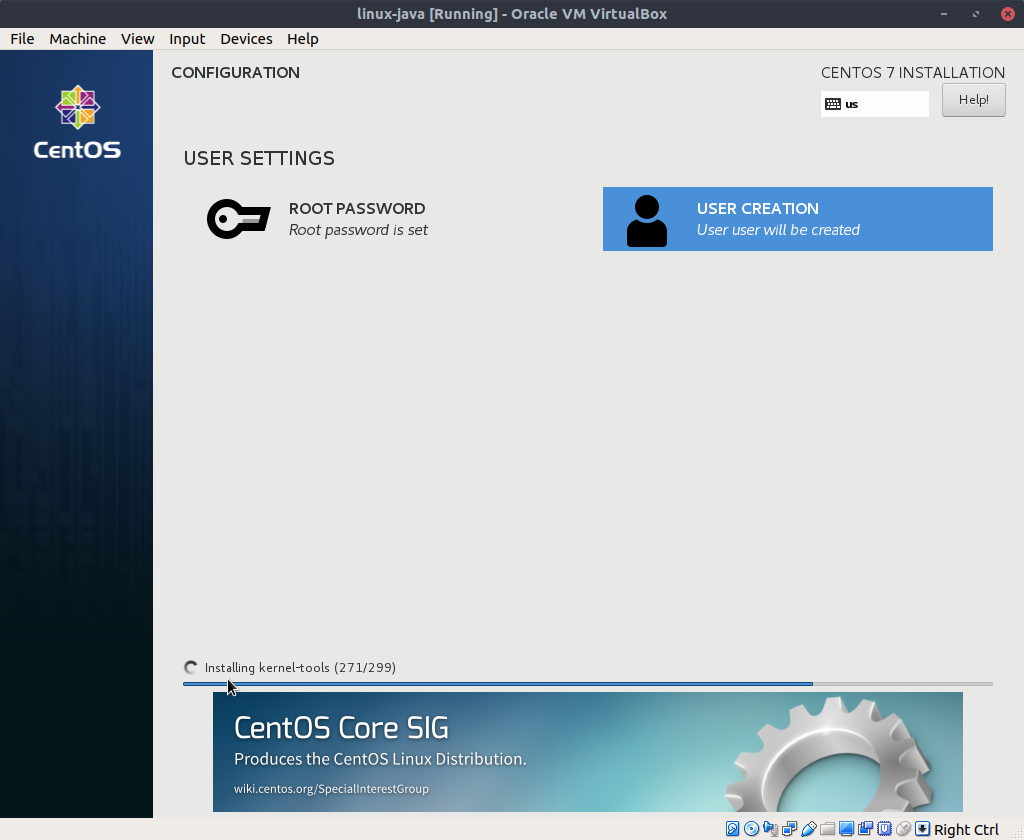
After starting the installation process, we have to set the root password.
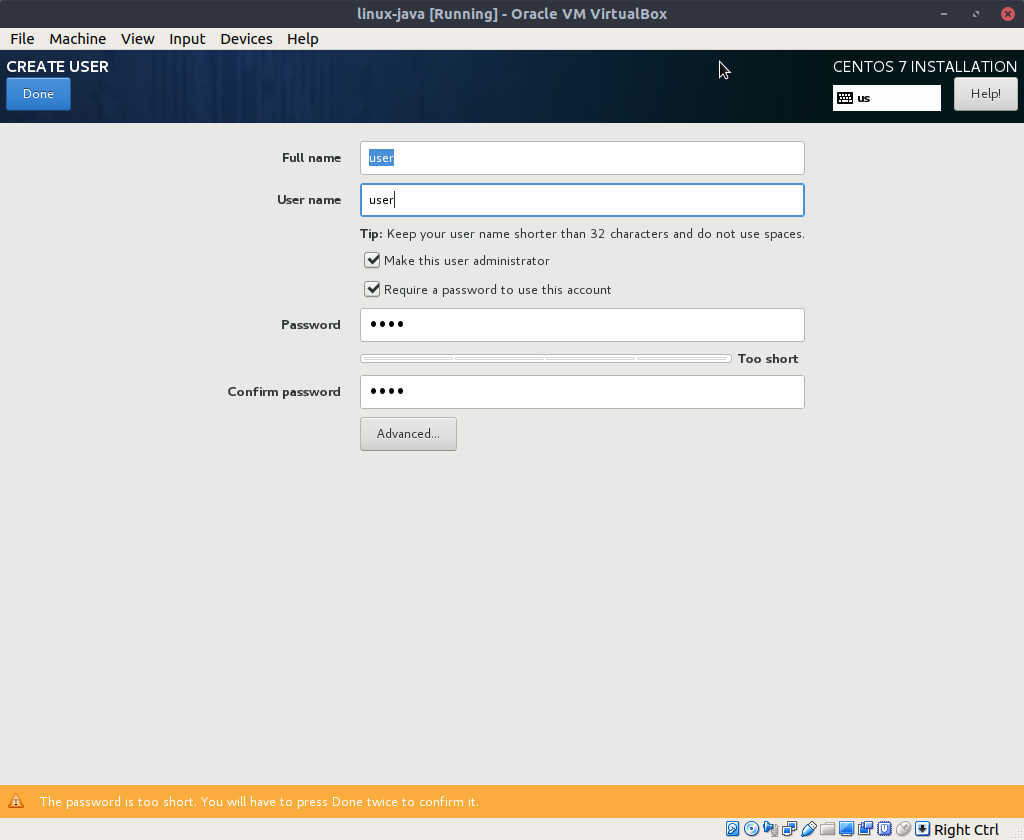
Additionally, we create a user with admin privileges. We will usually only log in with this user and perform all root tasks with sudo.
After a couple of minutes, CentOS 7 has been installed and we have to confirm rebooting the virtual machine
Configure CentOS 7
After rebooting we can login as the user we just created. The minimal CentOS 7 image already includes OpenSSH server, this allows us to ssh into the virtual machine from the host system with terminal (Linux) or putty (Windows). We can identify the current IP address of the virtual machine using ip a
[user@java-dev ~]$ ip a
1: lo:  mtu 65536 qdisc noqueue state UNKNOWN qlen 1
    link/loopback 00:00:00:00:00:00 brd 00:00:00:00:00:00
    inet 127.0.0.1/8 scope host lo
       valid_lft forever preferred_lft forever
    inet6 ::1/128 scope host
       valid_lft forever preferred_lft forever
2: enp0s3:  mtu 1500 qdisc pfifo_fast state UP qlen 1000
    link/ether 08:00:27:c3:3e:31 brd ff:ff:ff:ff:ff:ff
    inet 192.168.1.64/24 brd 192.168.1.255 scope global dynamic enp0s3
       valid_lft 86110sec preferred_lft 86110sec
    inet6 2001:569:70df:8b00:960a:f974:870c:f1cd/64 scope global noprefixroute dynamic
       valid_lft 14686sec preferred_lft 14386sec
    inet6 fe80::cebe:18e:7eb3:10ae/64 scope link
       valid_lft forever preferred_lft forever
In this example, the guest system uses IP 192.168.1.64.
Update the system
First, let's update the operating system with sudo yum update
Install wget
To download Oracle JDK we have to install wget with sudo yum install wget
Install ntp
I would also recommend installing the ntp service, to ensure that the time in our virtual machine is always synchronized. This is particularly important when we operate our server in a cluster.
[user@java-dev ~]$ sudo yum install wgetPer default CentOS 7 has enabled a firewall (firewalld) to ensure that the ntp service works as expected we add the service to the firewall rules.
[user@java-dev ~]$ sudo firewall-cmd --permanent --add-service=ntp
success
[user@java-dev ~]$ sudo firewall-cmd --reload
success
We also want to start the ntp service every time we start the virtual machine.
[user@java-dev ~]$ sudo systemctl start ntpd
[user@java-dev ~]$ sudo systemctl enable ntpd
Created symlink from /etc/systemd/system/multi-user.target.wants/ntpd.service to /usr/lib/systemd/system/ntpd.service.
Install JDK 8
Now let's install Oracle JDK 8. The easiest way is to directly download the 64-bit rpm package from the Oracle website.
[user@java-dev ~]$ wget --header "Cookie: oraclelicense=accept-securebackup-cookie"  http://download.oracle.com/otn-pub/java/jdk/8u161-b12/2f38c3b165be4555a1fa6e98c45e0808/jdk-8u161-linux-x64.rpm
[user@java-dev ~]$ sudo yum localinstall jdk-8u161-linux-x64.rpm
We can check that the correct Java version has been installed with java -version
[user@java-dev ~]$ java -version
java version "1.8.0_161"
Java(TM) SE Runtime Environment (build 1.8.0_161-b12)
Java HotSpot(TM) 64-Bit Server VM (build 25.161-b12, mixed mode)
Set JAVA_HOME and JAVA_JRE
The final step is to set the JAVA_HOME and JAVA_JRE environment variables. I usually add the configuration to /etc/profile.d as this sets the variables for all users. We first create a new file /etc/profile.d/set-java-env.sh.
[user@java-dev ~]$ sudo vi /etc/profile.d/set-java-env.shLet's add the following content to the file and save it.
#!bin/bash
#set-java-env.sh

export JAVA_HOME=/usr/java/jdk1.8.0_161/
export JRE_HOME=/usr/java/jdk1.8.0_161/jre

PATH=$PATH:$HOME/.local/bin:$HOME/bin:$JAVA_HOME/bin
After rebooting the virtual machine or logout/login we can see that the new environment variables were set.
[user@java-dev ~]$ export
declare -x HISTCONTROL="ignoredups"
declare -x HISTSIZE="1000"
declare -x HOME="/home/user"
declare -x HOSTNAME="java-dev"
declare -x JAVA_HOME="/usr/java/jdk1.8.0_161/"
declare -x JRE_HOME="/usr/java/jdk1.8.0_161/jre"
This completes setting up a basic virtual machine for deploying our Java-based applications. We can use an image like this in the future to install or evaluate third-party services like databases, messaging systems and distributed caches or for setting up a corresponding cluster.
Tags
AOP Apache Kafka Bootstrap Go Java Linux MongoDB Nginx Security Spring Spring Boot Spring Security SSL ThymeleafSearch
Archive
- 1 December 2023
- 1 November 2023
- 1 May 2019
- 2 April 2019
- 1 May 2018
- 1 April 2018
- 1 March 2018
- 2 February 2018
- 1 January 2018
- 5 December 2017
- 7 November 2017
- 2 October 2017